Chapter 06: Working with Textures
Learn how to load and render textures using the MonoGame content pipeline and SpriteBatch.
Textures are images that are used in your game to represent the visual graphics to the player, commonly referred to as Sprites. In Chapter 05, you went through the steps of using the Content Pipeline to load the MonoGame logo.png texture and rendering it to the screen.
In this chapter, you will:
- Learn how to render a texture with the SpriteBatch.
- Explorer how to manipulate the way the texture is rendered using the parameters of the SpriteBatch.Draw method.
Drawing a Texture
When rendering in MonoGame, render states, properties of the GraphicsDevice that affect how rendering is performed, need to be set. When rendering 2D sprites, the SpriteBatch class simplifies rendering by managing these render states for you.
Important
Although the SpriteBatch makes it easier to manage the render states for the GraphicsDevice, it can also change states that you may have set manually, such as when you are performing 3D rendering. Keep this in mind when mixing 2D and 3D rendering.
Three methods are are used when rendering with the SpriteBatch:
- SpriteBatch.Begin prepares the Graphics Device for rendering, including the render states.
- SpriteBatch.Draw tells the SpriteBatch what to render. This is usually called multiple times before SpriteBatch.End and batches the draw calls for efficiency.
- SpriteBatch.End submits the draw calls that were batched to the graphics device to be rendered.
Note
The order of method calls when rendering using the SpriteBatch is important. SpriteBatch.Begin must be called before any SpriteBatch.Draw calls are made. When finished, SpriteBatch.End must be called before another SpriteBatch.Begin can be called. If these methods are called out of order, an exception will be thrown.
As mentioned in Chapter 03, all rendering should be done inside the Draw method. The Draw method's responsibility is to render the game state that was calculated in Update; it should not contain any game logic or complex calculations.
At the end of Chapter 05, you added the following code to Draw in the Game1.cs file:
protected override void Draw(GameTime gameTime)
{
    // Clear the back buffer.
    GraphicsDevice.Clear(Color.CornflowerBlue);

    // Begin the sprite batch to prepare for rendering.
    SpriteBatch.Begin();

    // Draw the texture
    SpriteBatch.Draw(_logo, Vector2.Zero, Color.White);

    // Always end the sprite batch when finished.
    SpriteBatch.End();

    base.Draw(gameTime);
}
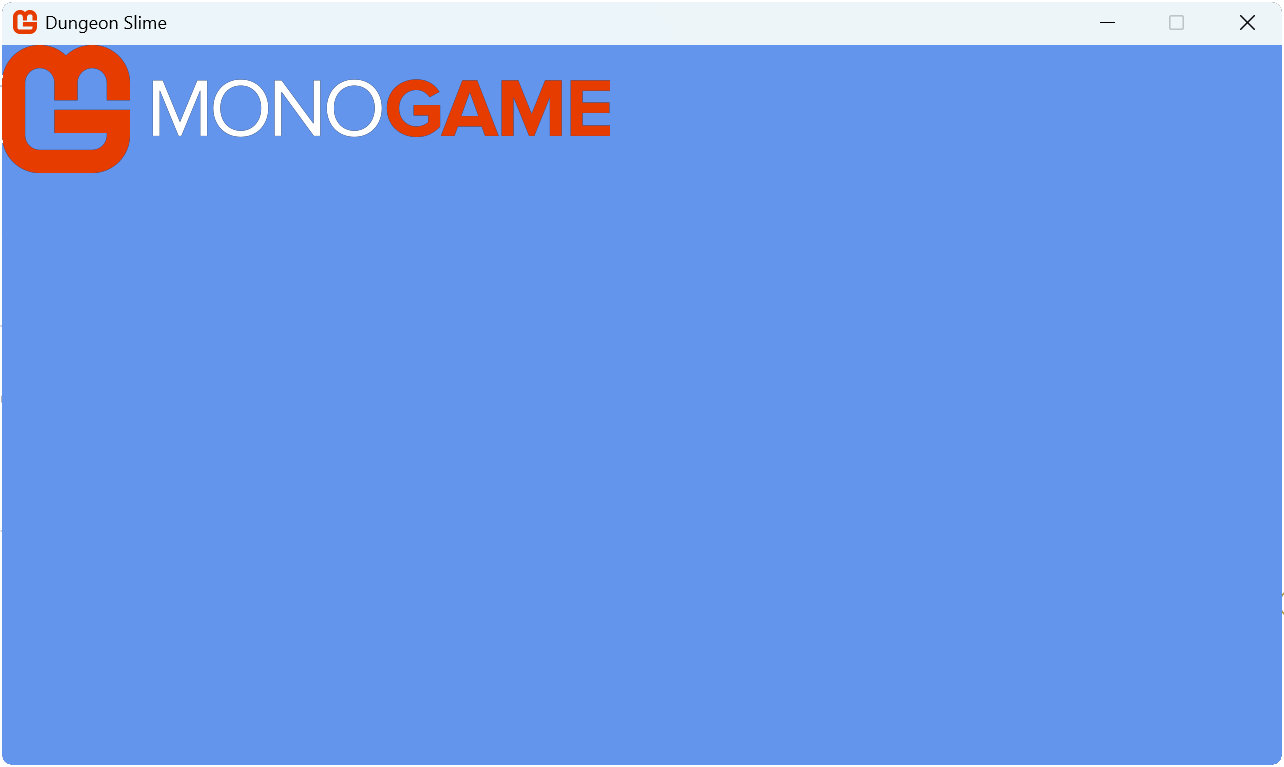
These lines initialize the SpriteBatch, draw the logo at Vector2.Zero (0, 0), and complete the batch. When you ran the game and the logo appeared in the window's upper-left corner:
 |
|---|
| Figure 6-1: The MonoGame logo drawn to the game window |
The SpriteBatch.Draw method we just used can be given the following parameters:
| Parameter | Type | Description |
|---|---|---|
| texture | Texture2D | The Texture2D to draw. |
| position | Vector2 | The X and Y coordinates at which the texture will be rendered, with the texture's origin being the upper-left corner of the image. |
| color | Color | The color mask (tint) to apply to the image drawn. Specifying Color.White will render the texture with no tint. |
Try adjusting the position and color parameters and see how they can affect the image being drawn.
MonoGame uses a coordinate system where (0, 0) is at the screen's upper-left corner. X values increase moving right, and Y values increase moving down. Understanding this, let's try to center the logo on the game window.
To center content on the screen, we need to find the window's center point. We can access this using the Window.ClientBounds property from the Game class, which represents the rectangular bounds of the game window. Window.ClientBounds exposes both Width and Height properties for the window's dimensions in pixels. By dividing these dimensions in half, we can can calculate the window's center coordinates. Let's update our Draw method to use this:
protected override void Draw(GameTime gameTime)
{
    // Clear the back buffer.
    GraphicsDevice.Clear(Color.CornflowerBlue);

    // Begin the sprite batch to prepare for rendering.
    SpriteBatch.Begin();

    // Draw the texture
    SpriteBatch.Draw(
        _logo,          // texture
        new Vector2(    // position
        Window.ClientBounds.Width, Window.ClientBounds.Height) * 0.5f,
        Color.White     // color
    );

    // Always end the sprite batch when finished.
    SpriteBatch.End();

    base.Draw(gameTime);
}
Tip
In the example above, we multiply the Vector2 created by 0.5f to halve the value instead of dividing it by 2.0f. If you are not used to seeing this, it might seem strange at first, but it is actually an optimization technique. CPUs are able to perform multiplication operations much faster than division operations and reading * 0.5f is easily understood to be the same thing as / 2.0f when reading.
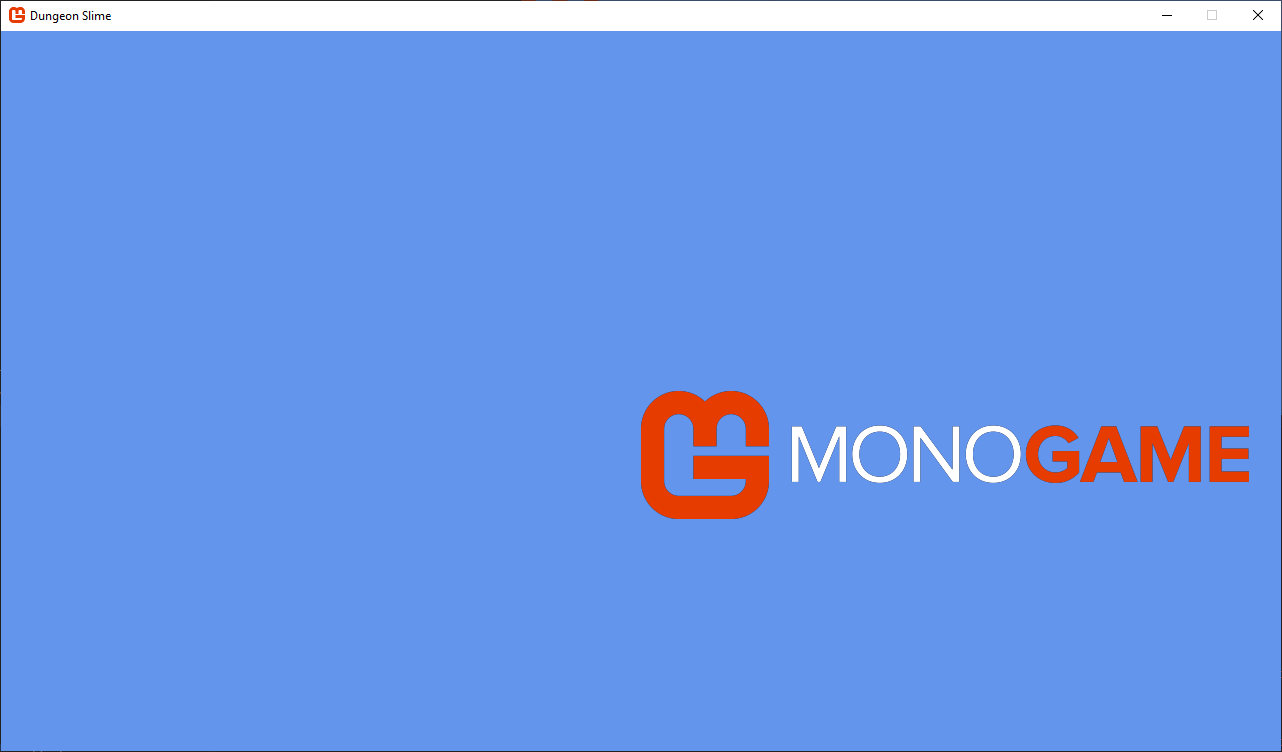
We have now set the position to half the window's dimensions, which should center the logo. Let's run the game to see the result.
 |
|---|
| Figure 6-2: Attempting to draw the MonoGame logo centered on the game window |
The logo is not centered as we expected it to be. Even though we set the position parameter to the center of the game window, the texture starts drawing from its origin, which is the upper-left corner in this example. So when we set the position to the screen's center, we are actually placing the logo's upper-left corner at that point, not its center.
One way to correct this is to subtract half the width and height of the texture from the game window's center position like so:
protected override void Draw(GameTime gameTime)
{
    // Clear the back buffer.
    GraphicsDevice.Clear(Color.CornflowerBlue);

    // Begin the sprite batch to prepare for rendering.
    SpriteBatch.Begin();

    // Draw the texture
    SpriteBatch.Draw(
        _logo,          // texture
        new Vector2(    // position
            (Window.ClientBounds.Width * 0.5f) - (_logo.Width * 0.5f),
            (Window.ClientBounds.Height * 0.5f) - (_logo.Height * 0.5f)),
        Color.White     // color
    );

    // Always end the sprite batch when finished.
    SpriteBatch.End();

    base.Draw(gameTime);
}
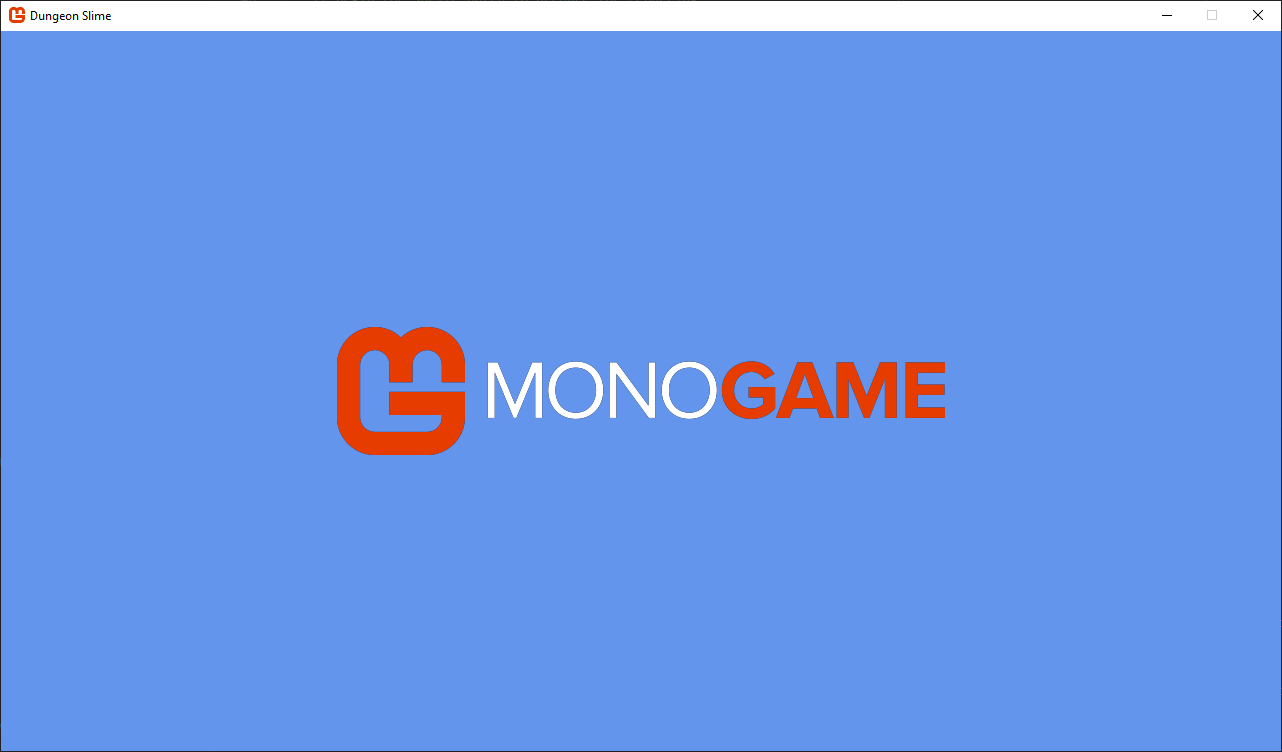
This offsets the position so that it correctly centers the image to the game window.
 |
|---|
| Figure 6-3: The MonoGame logo drawn centered on the game window |
While this works, there is a better approach. There is a different overload of the SpriteBatch.Draw method that provides additional parameters for complete control over the draw operation. Update your code to:
protected override void Draw(GameTime gameTime)
{
    // Clear the back buffer.
    GraphicsDevice.Clear(Color.CornflowerBlue);

    // Begin the sprite batch to prepare for rendering.
    SpriteBatch.Begin();

    // Draw the texture
    SpriteBatch.Draw(
        _logo,              // texture
        new Vector2(        // position
            (Window.ClientBounds.Width * 0.5f) - (_logo.Width * 0.5f),
            (Window.ClientBounds.Height * 0.5f) - (_logo.Height * 0.5f)),
        null,               // sourceRectangle
        Color.White,        // color
        0.0f,               // rotation
        Vector2.Zero,       // origin
        1.0f,               // scale
        SpriteEffects.None, // effects
        0.0f                // layerDepth
    );

    // Always end the sprite batch when finished.
    SpriteBatch.End();

    base.Draw(gameTime);
}
This overload produces the same centered result but exposes all parameters that control rendering for a draw operation. Unlike engines that abstract much of these details away, MonoGame provides explicit control for a flexible custom rendering pipeline. Here is what each parameter does:
| Parameter | Type | Description |
|---|---|---|
| texture | Texture2D | The Texture2D to draw. |
| position | Vector2 | The X and Y coordinate position at which the texture will be rendered, relative to the origin parameter. |
| sourceRectangle | Rectangle | An optional region within the texture to be rendered in order to draw only a portion of the texture. Specifying null will render the entire texture. |
| color | Color | The color mask (tint) to apply to the image drawn. Specifying Color.White will render the texture with no tint. |
| rotation | float |
The amount of rotation, in radians, to apply to the texture when rendering. Specifying 0.0f will render the image with no rotation. |
| origin | Vector2 | The X and Y coordinate origin point of the texture when rendering. This will affect the offset of the texture when rendered as well being the origin in which the texture is rotated around and scaled from. |
| scale | float |
The amount to scale the image across the x- and y-axes. Specifying 1.0f will render the image at its default size with no scaling. |
| effects | SpriteEffects | A SpriteEffects enum value to that specifies if the texture should be rendered flipped across the horizontal axis, the vertical axis, or both axes. |
| layerDepth | float |
Specifies the depth at which the texture is rendered. Textures with a higher layer depth value are drawn on top of those with a lower layer depth value. Note: This value will only apply when using SpriteSortMode.FrontToBack or `SpriteSortMode.BackToFront. We'll cover this in a moment. |
Rotation
First let's explore the rotation parameter. This value is the amount of rotation to apply to the sprite when rendering it. Let's rotate the texture 90° to make it vertical. Since rotation is measured in radians, not degrees, we can use the built-in math library in MonoGame to make the conversion for us by calling MathHelper.ToRadians. Update the code to:
protected override void Draw(GameTime gameTime)
{
    // Clear the back buffer.
    GraphicsDevice.Clear(Color.CornflowerBlue);

    // Begin the sprite batch to prepare for rendering.
    SpriteBatch.Begin();

    // Draw the texture
    SpriteBatch.Draw(
        _logo,                      // texture
        new Vector2(                // position
            (Window.ClientBounds.Width * 0.5f) - (_logo.Width * 0.5f),
            (Window.ClientBounds.Height * 0.5f) - (_logo.Height * 0.5f)),
        null,                       // sourceRectangle
        Color.White,                // color
        MathHelper.ToRadians(90),   // rotation
        Vector2.Zero,               // origin
        1.0f,                       // scale
        SpriteEffects.None,         // effects
        0.0f                        // layerDepth
    );

    // Always end the sprite batch when finished.
    SpriteBatch.End();

    base.Draw(gameTime);
}
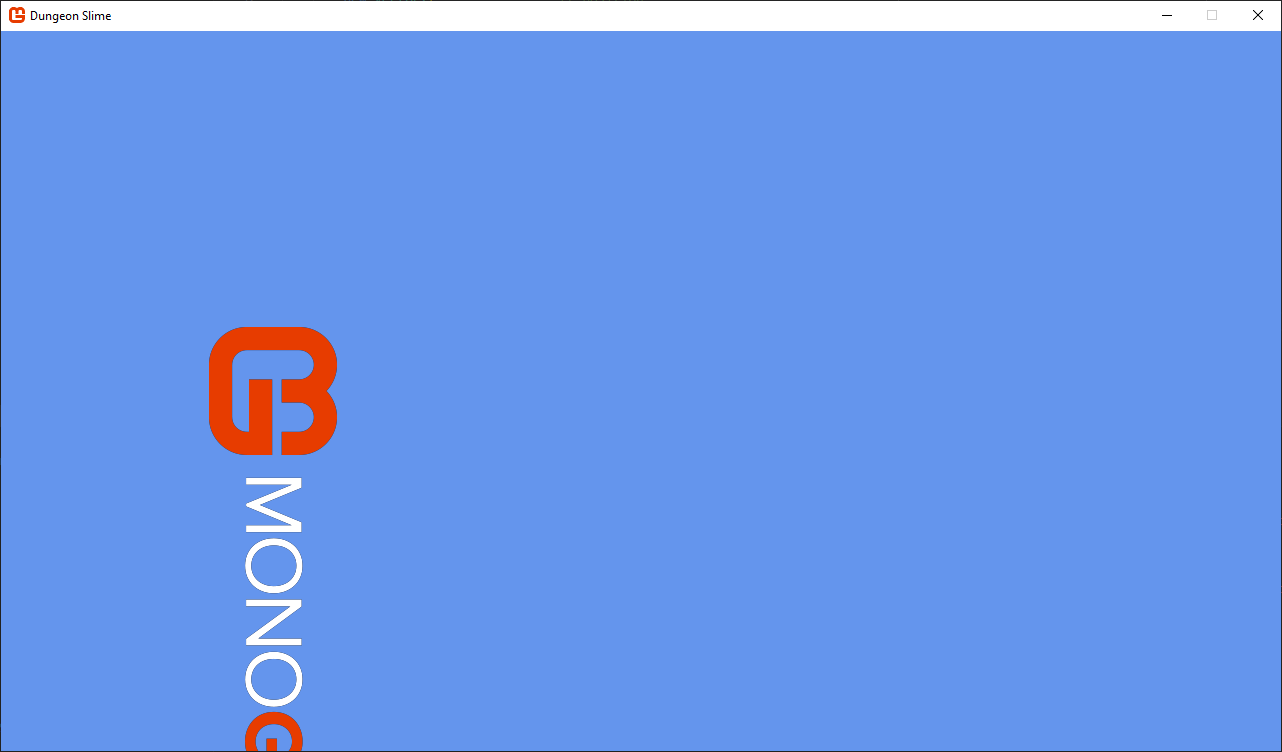
Running the code now shows the rotated image, but not in the expected position:
 |
|---|
| Figure 6-4: Attempting to draw the MonoGame logo rotated 90° and centered on the game window |
The reason the sprite did not rotate as expected is because of the origin parameter.
Origin
The origin parameter specifies the point of origin in which the sprite is rendered from, rotated from, and scaled from. By default, if no origin is set, it will be Vector2.Zero, the upper-left corner of the sprite. To visualize this, see Figure 6-5 below. The red square represents where the origin is for the sprite, and we can see how it's rotated around this origin point.
| Figure 6-5: Demonstration of how a sprite is rotated around its origin |
To resolve the rotation issue we had, we only need to change the origin parameter so that instead of defaulting to the upper-left corner of the sprite, it is set to the center of the sprite. When doing this, we need to set the values based on the sprites width and height, so the center origin will be half the width and height of the sprite. Update the code to:
protected override void Draw(GameTime gameTime)
{
    // Clear the back buffer.
    GraphicsDevice.Clear(Color.CornflowerBlue);

    // Begin the sprite batch to prepare for rendering.
    SpriteBatch.Begin();

    // Draw the texture
    SpriteBatch.Draw(
        _logo,                      // texture
        new Vector2(                // position
            Window.ClientBounds.Width,
            Window.ClientBounds.Height) * 0.5f,
        null,                       // sourceRectangle
        Color.White,                // color
        MathHelper.ToRadians(90),   // rotation
        new Vector2(                // origin
            _logo.Width,
            _logo.Height) * 0.5f,
        1.0f,                       // scale
        SpriteEffects.None,         // effects
        0.0f                        // layerDepth
    );

    // Always end the sprite batch when finished.
    SpriteBatch.End();

    base.Draw(gameTime);
}
By moving the sprite's origin point to its center, this not only corrects the point of rotation, but also eliminates the need to offset the position by half the sprite's dimensions. Running the game now shows the log properly centered and rotated 90°.
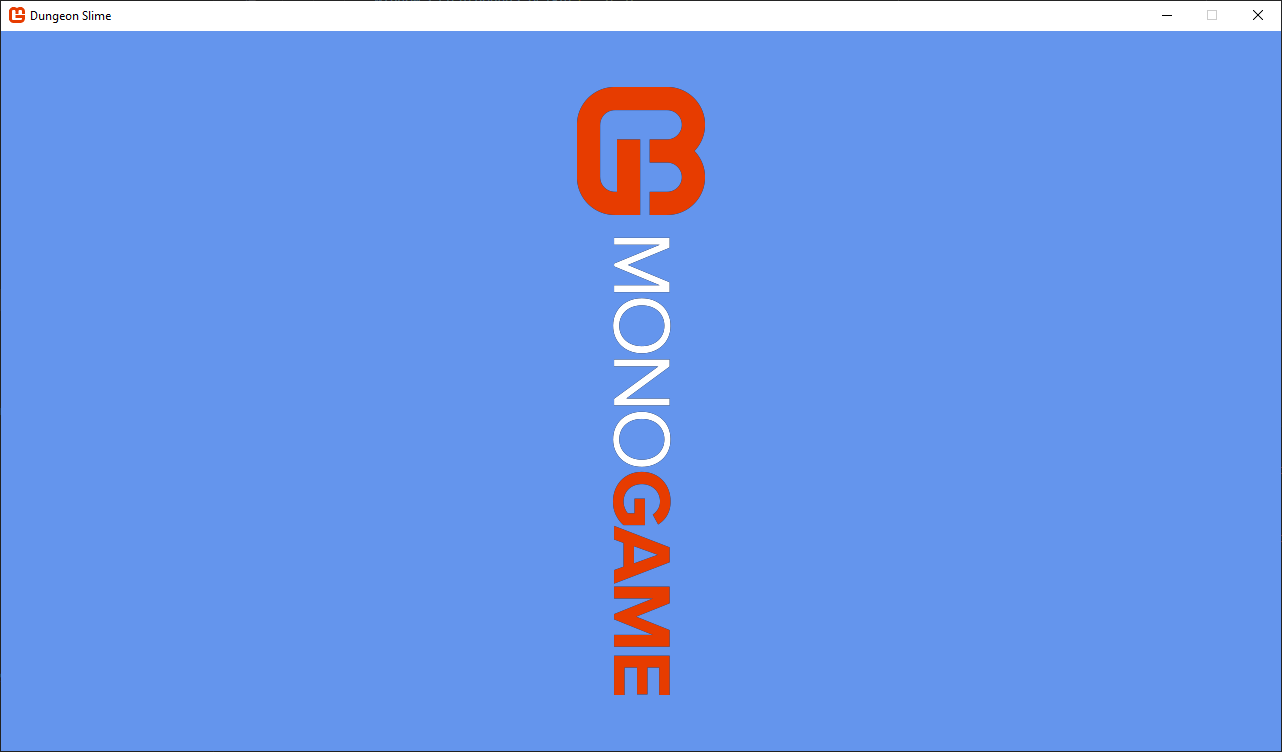 |
|---|
| Figure 6-6: The MonoGame logo drawn rotated 90° and centered on the game window |
Scale
The scale parameter specifies the amount of scaling to apply to the sprite when it is rendered. The default value is 1.0f, which can be read as "rendering the sprite at 1x the size". Increasing this will scale up the size of the sprite and decreasing it will scale down the sprite. Let's see an example of this by setting the scale of the logo sprite to 1.5f:
protected override void Draw(GameTime gameTime)
{
    // Clear the back buffer.
    GraphicsDevice.Clear(Color.CornflowerBlue);

    // Begin the sprite batch to prepare for rendering.
    SpriteBatch.Begin();

    // Draw the texture
    SpriteBatch.Draw(
       _logo,              // texture
       new Vector2(        // position
           Window.ClientBounds.Width,
           Window.ClientBounds.Height) * 0.5f,
       null,               // sourceRectangle
       Color.White,        // color
       0.0f,               // rotation
       new Vector2(        // origin
           _logo.Width,
           _logo.Height) * 0.5f,
       1.5f,               // scale
       SpriteEffects.None, // effects
       0.0f                // layerDepth
   );

   // Always end the sprite batch when finished.
    SpriteBatch.End();

    base.Draw(gameTime);
}
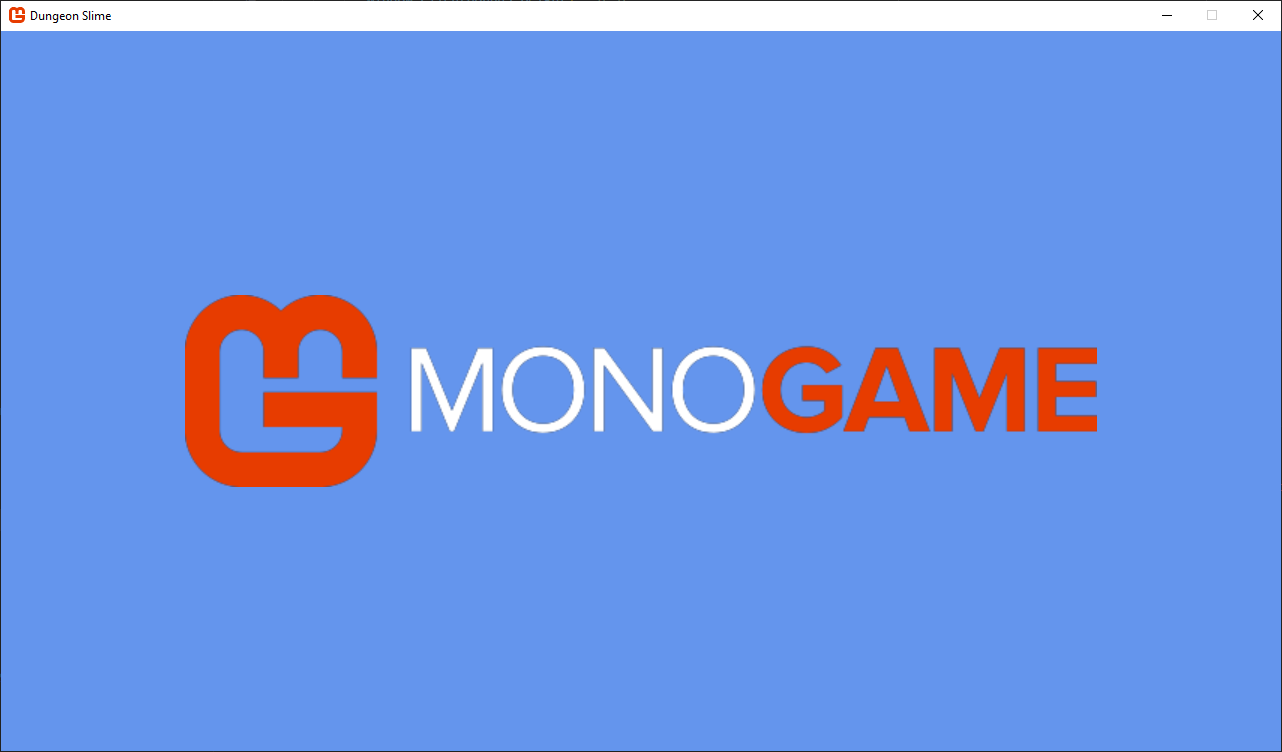 |
|---|
| Figure 6-7: The MonoGame logo drawn scaled at 1.5x the size |
Note that the sprite scaled up from the center. This is because we still have the origin parameter set as the center of the sprite. If we instead adjusted the code so the origin parameter was back in the upper-left corner like so:
protected override void Draw(GameTime gameTime)
{
    // Clear the back buffer.
    GraphicsDevice.Clear(Color.CornflowerBlue);

    // Begin the sprite batch to prepare for rendering.
    SpriteBatch.Begin();

    // Draw the texture
    SpriteBatch.Draw(
        _logo,              // texture
        new Vector2(        // position
            Window.ClientBounds.Width,
            Window.ClientBounds.Height) * 0.5f,
        null,               // sourceRectangle
        Color.White,        // color
        0.0f,               // rotation
        Vector2.Zero,       // origin
        1.5f,               // scale
        SpriteEffects.None, // effects
        0.0f                //layerDepth
    );

    // Always end the sprite batch when finished.
    SpriteBatch.End();

    base.Draw(gameTime);
}
Then the scaling is applied from the origin in the upper-left corner producing the following result:
 |
|---|
| Figure 6-8: The MonoGame logo drawn scaled at 1.5x the size with the origin set in the upper-left corner |
Scaling can also be applied to the x- and y-axes independently by providing it with a Vector2 value instead of a float value. For instance, let's scale the x-axis of the sprite by 1.5x and reduce the scale of the y-axis to 0.5x:
protected override void Draw(GameTime gameTime)
{
    // Clear the back buffer.
    GraphicsDevice.Clear(Color.CornflowerBlue);

    // Begin the sprite batch to prepare for rendering.
    SpriteBatch.Begin();

    // Draw the texture
    SpriteBatch.Draw(
        _logo,                      // texture
        new Vector2(                // position
            Window.ClientBounds.Width,
            Window.ClientBounds.Height) * 0.5f,
        null,                       // sourceRectangle
        Color.White,                // color
        0.0f,                       // rotation
        new Vector2(                // origin
            _logo.Width,
            _logo.Height) * 0.5f,
        new Vector2(1.5f, 0.5f),    // scale
        SpriteEffects.None,         // effects
        0.0f                        // layerDepth
    );

    // Always end the sprite batch when finished.
    SpriteBatch.End();

    base.Draw(gameTime);
}
Which will produce the following result:
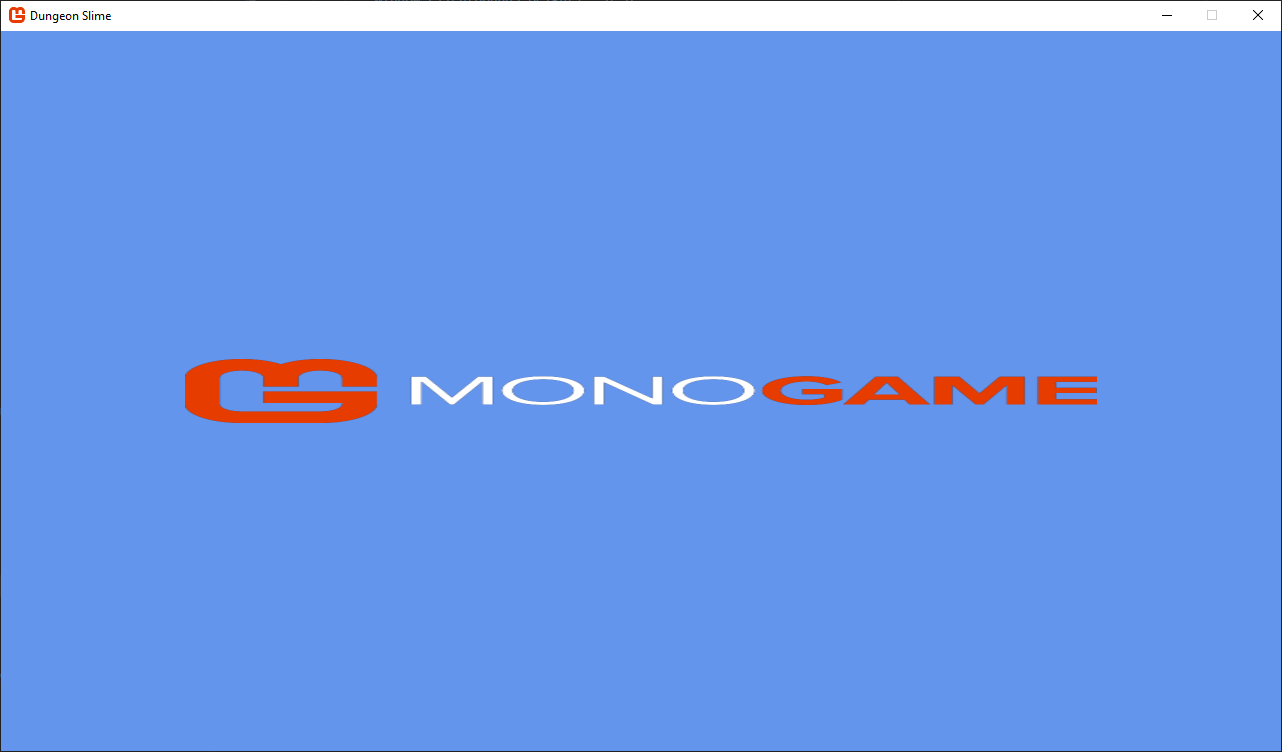 |
|---|
| Figure 6-9: The MonoGame logo drawn scaled at 1.5x the size on the x-axis and 0.5x on the y-axis |
SpriteEffects
The effects parameter is used to flip the sprite when rendered on either the horizontal or vertical axis, or both. This value for this parameter will be one of the SpriteEffects enum values.
| SpriteEffect | Description |
|---|---|
| SpriteEffects.None | No effect is applied and the sprite is rendered normally. |
| SpriteEffects.FlipHorizontally | The sprite is rendered flipped along the horizontal axis. |
| SpriteEffects.FlipVertically | The sprite is rendered flipped along the vertical axis. |
Let's see this by applying the SpriteEffects.FlipHorizontally value to the sprite:
protected override void Draw(GameTime gameTime)
{
    // Clear the back buffer.
    GraphicsDevice.Clear(Color.CornflowerBlue);

    // Begin the sprite batch to prepare for rendering.
    SpriteBatch.Begin();

    // Draw the texture
    SpriteBatch.Draw(
        _logo,                          // texture
        new Vector2(                    // position
            Window.ClientBounds.Width,
            Window.ClientBounds.Height) * 0.5f,
        null,                           // sourceRectangle
        Color.White,                    // color
        0.0f,                           // rotation
        new Vector2(                    // origin
            _logo.Width,
            _logo.Height) * 0.5f,
        1.0f,                           // scale
        SpriteEffects.FlipHorizontally, // effects
        0.0f                            // layerDepth
    );

    // Always end the sprite batch when finished.
    SpriteBatch.End();

    base.Draw(gameTime);
}
Which will produce the following result:
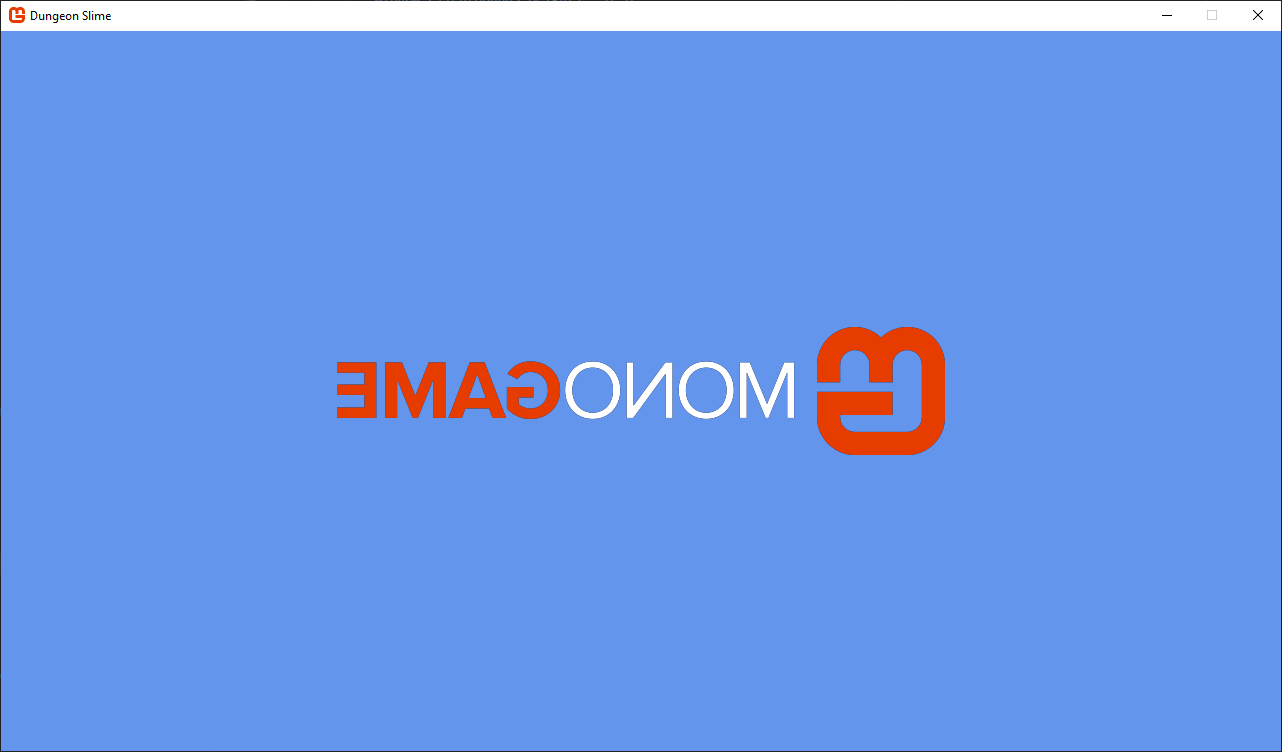 |
|---|
| Figure 6-10: The MonoGame logo flipped horizontally |
The SpriteEffects enum value also uses the [Flag] attribute, which means we can combine both horizontal and vertical flipping together. To do this, we use the bitwise OR operator |. Update the effect parameter value to the following:
protected override void Draw(GameTime gameTime)
{
    // Clear the back buffer.
    GraphicsDevice.Clear(Color.CornflowerBlue);

    // Begin the sprite batch to prepare for rendering.
    SpriteBatch.Begin();

    // Draw the texture
    SpriteBatch.Draw(
        _logo,                              // texture
        new Vector2(                        // position
            Window.ClientBounds.Width,
            Window.ClientBounds.Height) * 0.5f,
        null,                               // sourceRectangle
        Color.White,                        // color
        0.0f,                               // rotation
        new Vector2(                        // origin
            _logo.Width,
            _logo.Height) * 0.5f,
        1.0f,                               // scale
        SpriteEffects.FlipHorizontally |    // effects
        SpriteEffects.FlipVertically,
        0.0f                                // layerDepth
    );

    // Always end the sprite batch when finished.
    SpriteBatch.End();

    base.Draw(gameTime);
}
Now the sprite is flipped both horizontally and vertically
 |
|---|
| Figure 6-11: The MonoGame logo flipped horizontally and vertically |
Color and Opacity
The color parameter applies a color mask to the sprite when it's rendered. Note that this is not setting the actual color of the image, just a mask that is applied, like a tint. The default value is Color.White. So if we're setting it to Color.White, why does this not affect the tinting of the sprite drawn?
When the color parameter is applied, each color channel (Red, Green, Blue) of the sprite is multiplied by the corresponding channel in the color parameter, where each channel is represented as a value between 0.0f and 1.0f. For Color.White, all color channels are set to 1.0f (255 in byte form), so the multiplication looks like this:
Final Red = Sprite Red * 1.0f
Final Green = Sprite Green * 1.0f
Final Blue = Sprite Blue * 1.0f;
Since multiplying by 1.0f doesn't change the value, Color.White essentially preserves the original colors of the sprite.
Let's change the color parameter to use Color.Green:
protected override void Draw(GameTime gameTime)
{
    // Clear the back buffer.
    GraphicsDevice.Clear(Color.CornflowerBlue);

    // Begin the sprite batch to prepare for rendering.
    SpriteBatch.Begin();

    // Draw the texture
    SpriteBatch.Draw(
        _logo,              // texture
        new Vector2(        // position
            Window.ClientBounds.Width,
            Window.ClientBounds.Height) * 0.5f,
        null,               // sourceRectangle
        Color.Green,        // color
        0.0f,               // rotation
        new Vector2(        // origin
            _logo.Width,
            _logo.Height) * 0.5f,
        1.0f,               // scale
        SpriteEffects.None, // effects
        0.0f
    );

    // Always end the sprite batch when finished.
    SpriteBatch.End();

    base.Draw(gameTime);
}
This produces the following result:
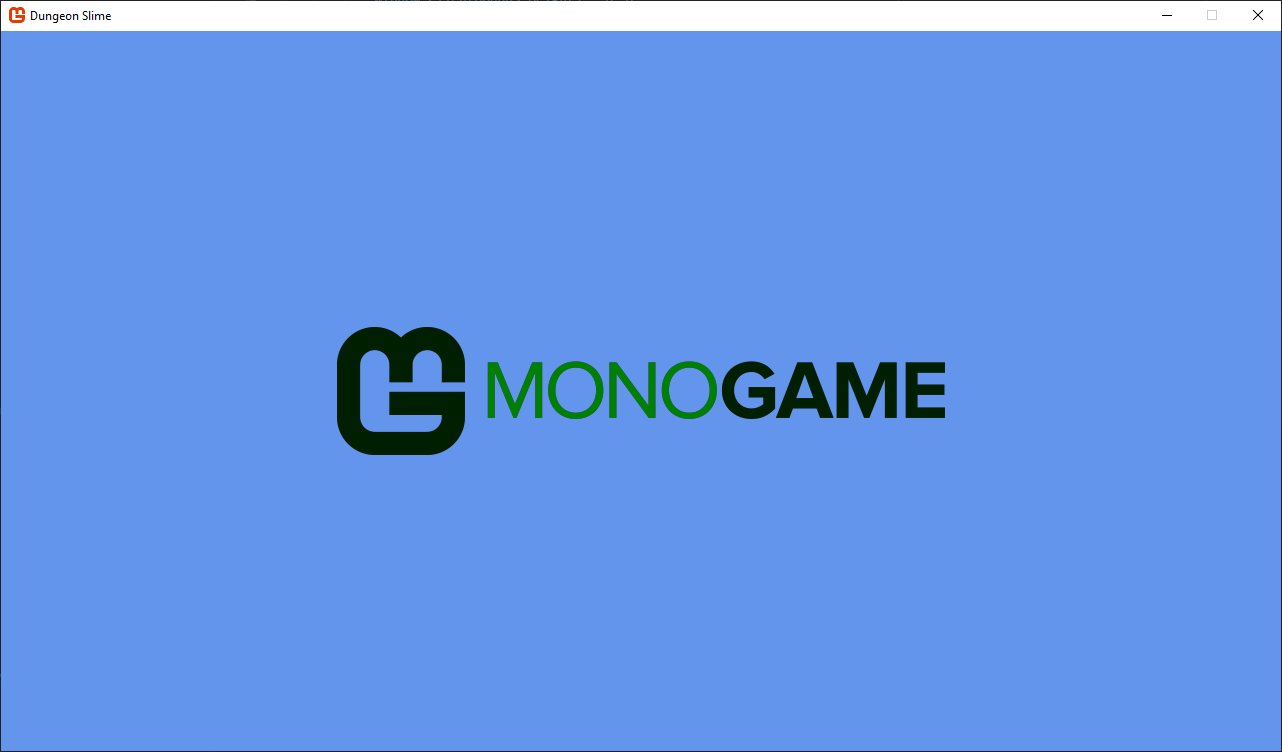 |
|---|
| Figure 6-12: The MonoGame logo with a green color tint applied |
Note
The icon and the word "GAME" in the logo look black after using a Color.Green because the Red, Blue Green components of that color are (0.0f, 0.5f, 0.0f). The Orange color used in the logo is Color.MonoGameOrange, which has the component values of (0.9f, 0.23f, 0.0f). When multiplying the component values, the result is (0.0f, 0.125f, 0.0f) which would be Red 0, Green 31, Blue 0 in byte values. So it's not quite fully black, but it is very close.
This is why it's important to understand how the color parameter values are applied to the sprite when it is rendered.
To adjust the opacity of a sprite, we can multiply the color parameter value by a value between 0.0f (fully transparent) and 1.0f (fully opaque). For instance, if we wanted to render the logo with 50% transparency we can multiply the color parameter by 0.5f like this:
protected override void Draw(GameTime gameTime)
{
    // Clear the back buffer.
    GraphicsDevice.Clear(Color.CornflowerBlue);

    // Begin the sprite batch to prepare for rendering.
    SpriteBatch.Begin();

    // Draw the texture
    SpriteBatch.Draw(
        _logo,              // texture
        new Vector2(        // position
            Window.ClientBounds.Width,
            Window.ClientBounds.Height) * 0.5f,
        null,               // sourceRectangle
        Color.White * 0.5f, // color
        0.0f,               // rotation
        new Vector2(        // origin
            _logo.Width,
            _logo.Height) * 0.5f,
        1.0f,               // scale
        SpriteEffects.None, // effects
        0.0f
    );

    // Always end the sprite batch when finished.
    SpriteBatch.End();

    base.Draw(gameTime);
}
Which will produce the following result:
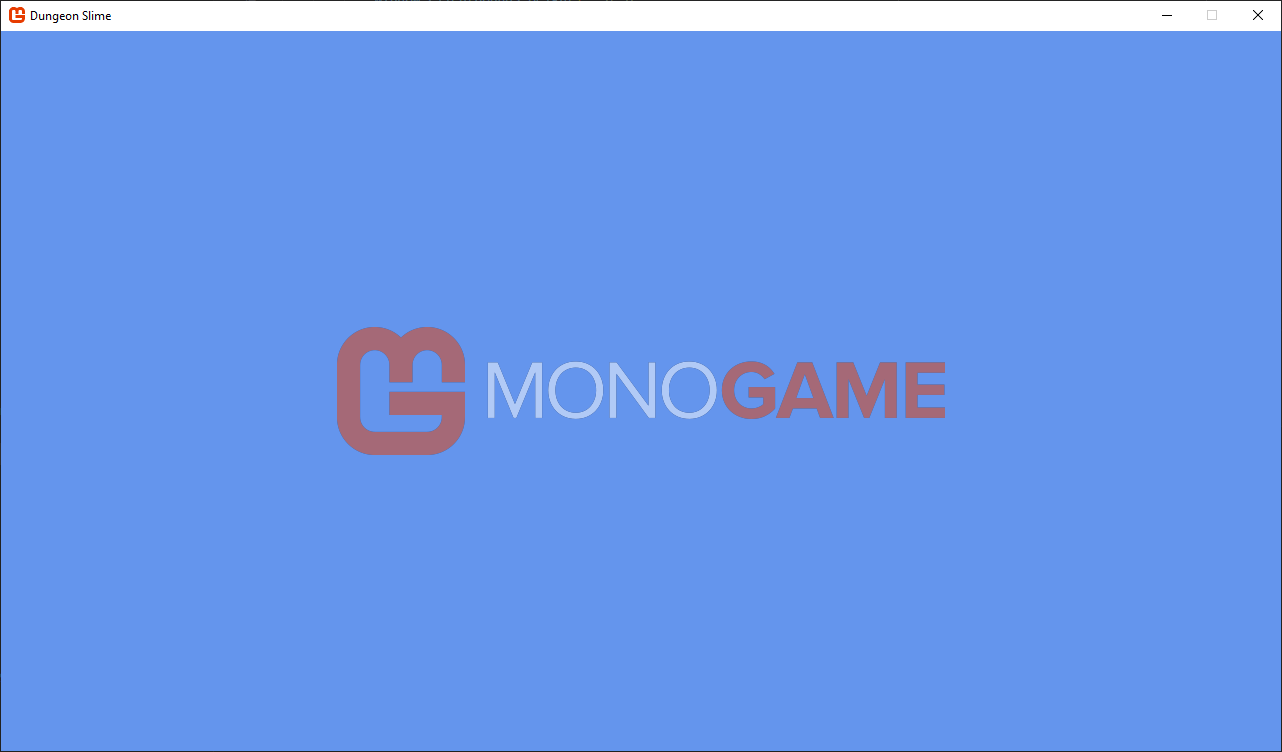 |
|---|
| Figure 6-13: The MonoGame logo with half transparency |
Source Rectangle
The sourceRectangle parameter specifies a specific boundary within the texture that should be rendered. So far, we've just set this parameter to null, which specifies that the full texture should be rendered. If we only wanted to render a portion of the texture as the sprite, we can set this parameter value.
For instance, take the logo image we've been using. We can break it down into two distinct regions; the MonoGame icon and the MonoGame wordmark.
 |
|---|
| Figure 6-14: The MonoGame logo broken down into the icon and wordmark regions |
We can see from Figure 6-14 above that the actual icon starts at position (0, 0) and is 128px wide and 128px tall. Likewise, the wordmark starts at position (150, 34) and is 458px wide and 58px tall. Knowing the starting position and the width and height of the region gives us a defined rectangle that we can use as the sourceRectangle.
Let's see this in action by drawing the icon and the wordmark separately from the same texture. Update the code to the following:
protected override void Draw(GameTime gameTime)
{
    // Clear the back buffer.
    GraphicsDevice.Clear(Color.CornflowerBlue);

    // The bounds of the icon within the texture.
    Rectangle iconSourceRect = new Rectangle(0, 0, 128, 128);

    // The bounds of the word mark within the texture.
    Rectangle wordmarkSourceRect = new Rectangle(150, 34, 458, 58);

    // Begin the sprite batch to prepare for rendering.
    SpriteBatch.Begin();

    // Draw only the icon portion of the texture.
    SpriteBatch.Draw(
        _logo,              // texture
        new Vector2(        // position
            Window.ClientBounds.Width,
            Window.ClientBounds.Height) * 0.5f,
        iconSourceRect,     // sourceRectangle
        Color.White,        // color
        0.0f,               // rotation
        new Vector2(        // origin
            iconSourceRect.Width,
            iconSourceRect.Height) * 0.5f,
        1.0f,               // scale
        SpriteEffects.None, // effects
        0.0f                // layerDepth
    );

    // Draw only the word mark portion of the texture.
    SpriteBatch.Draw(
        _logo,              // texture
        new Vector2(        // position
          Window.ClientBounds.Width,
          Window.ClientBounds.Height) * 0.5f,
        wordmarkSourceRect, // sourceRectangle
        Color.White,        // color
        0.0f,               // rotation
        new Vector2(        // origin
          wordmarkSourceRect.Width,
          wordmarkSourceRect.Height) * 0.5f,
        1.0f,               // scale
        SpriteEffects.None, // effects
        0.0f                // layerDepth
    );

    // Always end the sprite batch when finished.
    SpriteBatch.End();

    base.Draw(gameTime);
}
The following changes were made:
- Two new Rectangle values called
iconSourceRectandwordmarkSourceRectthat represent the boundaries of the MonoGame icon and wordmark regions within the logo texture were added. - The sourceRectangle parameter of the
_spriteBatch.Drawwas updated to use the newiconSourceRectvalue. Notice that we are still telling it to draw the_logofor the texture, we've just supplied it with a source rectangle this time. - The origin parameter was updated to use the width and height of the
iconSourceRect. Since the overall dimensions of what we'll be rendering has changed due to supplying a source rectangle, the origin needs to be adjusted to those dimensions as well. - Finally, a second
_spriteBatch.Drawcall is made, this time using thewordmarkSourceRectas the source rectangle so that the wordmark is drawn.
If you run the game now, you should see the following:
| Figure 6-15: The MonoGame icon and wordmark, from the logo texture, centered in the game window |
Note
Making use of the sourceRectangle parameter to draw different sprites from the same texture is optimization technique that we'll explore further in the next chapter.
Layer Depth
The final parameter to discuss is the layerDepth parameter. Notice that in Figure 5-14 above, the word mark is rendered on top of the icon. This is because of the order the draw calls were made; first the icon was rendered, then the word mark was rendered.
The SpriteBatch.Begin method contains several optional parameters, one of which is the sortMode parameter. By default, this value is SpriteSortMode.Deferred, which means what is drawn is done so in the order of the SpriteBatch.Draw calls. Each subsequent call will be drawn visually on top of the previous call.
When SpriteSortMode.Deferred is used, then the layerDepth parameter in the SpriteBatch.Draw call is essentially ignored. For instance, in the first _spriteBatch.Draw method call, update the layerDepth parameter to 1.0f.
protected override void Draw(GameTime gameTime)
{
    // Clear the back buffer.
    GraphicsDevice.Clear(Color.CornflowerBlue);

    // The bounds of the icon within the texture.
    Rectangle iconSourceRect = new Rectangle(0, 0, 128, 128);

    // The bounds of the word mark within the texture.
    Rectangle wordmarkSourceRect = new Rectangle(150, 34, 458, 58);

    // Begin the sprite batch to prepare for rendering.
    SpriteBatch.Begin();

    // Draw only the icon portion of the texture.
    SpriteBatch.Draw(
        _logo,              // texture
        new Vector2(        // position
            Window.ClientBounds.Width,
            Window.ClientBounds.Height) * 0.5f,
        iconSourceRect,     // sourceRectangle
        Color.White,        // color
        0.0f,               // rotation
        new Vector2(        // origin
            iconSourceRect.Width,
            iconSourceRect.Height) * 0.5f,
        1.0f,               // scale
        SpriteEffects.None, // effects
        1.0f                // layerDepth
    );

    // Draw only the word mark portion of the texture.
    SpriteBatch.Draw(
        _logo,              // texture
        new Vector2(        // position
          Window.ClientBounds.Width,
          Window.ClientBounds.Height) * 0.5f,
        wordmarkSourceRect, // sourceRectangle
        Color.White,        // color
        0.0f,               // rotation
        new Vector2(        // origin
          wordmarkSourceRect.Width,
          wordmarkSourceRect.Height) * 0.5f,
        1.0f,               // scale
        SpriteEffects.None, // effects
        0.0f                // layerDepth
    );

    // Always end the sprite batch when finished.
    SpriteBatch.End();

    base.Draw(gameTime);
}
Doing this should tell it to render on a layer above the wordmark since the icon is at 1.0f and the wordmark is at 0.0f for the layerDepth. However, if you run the game now, you'll see that no change actually happens; the wordmark is still drawn on top of the icon.
To make use of the layerDepth parameter, you need to set the sortMode to either SpriteSortMode.BackToFront or SpriteSortMode.FrontToBack.
| Sort Mode | Description |
|---|---|
| SpriteSortMode.BackToFront | Sprites are sorted by depth in back-to-front order prior to drawing. |
| SpriteSortMode.FrontToBack | Sprites are sorted by depth in front-to-back order prior to drawing. |
Let's see this in action. We've already set the layerDepth parameter of the icon to 1.0f. Find the _spriteBatch.Begin() method call and update it to the following:
protected override void Draw(GameTime gameTime)
{
    // Clear the back buffer.
    GraphicsDevice.Clear(Color.CornflowerBlue);

    // The bounds of the icon within the texture.
    Rectangle iconSourceRect = new Rectangle(0, 0, 128, 128);

    // The bounds of the word mark within the texture.
    Rectangle wordmarkSourceRect = new Rectangle(150, 34, 458, 58);

    // Begin the sprite batch to prepare for rendering.
    SpriteBatch.Begin(sortMode: SpriteSortMode.FrontToBack);

    // Draw only the icon portion of the texture.
    SpriteBatch.Draw(
        _logo,              // texture
        new Vector2(        // position
            Window.ClientBounds.Width,
            Window.ClientBounds.Height) * 0.5f,
        iconSourceRect,     // sourceRectangle
        Color.White,        // color
        0.0f,               // rotation
        new Vector2(        // origin
            iconSourceRect.Width,
            iconSourceRect.Height) * 0.5f,
        1.0f,               // scale
        SpriteEffects.None, // effects
        1.0f                // layerDepth
    );

    // Draw only the word mark portion of the texture.
    SpriteBatch.Draw(
        _logo,              // texture
        new Vector2(        // position
          Window.ClientBounds.Width,
          Window.ClientBounds.Height) * 0.5f,
        wordmarkSourceRect, // sourceRectangle
        Color.White,        // color
        0.0f,               // rotation
        new Vector2(        // origin
          wordmarkSourceRect.Width,
          wordmarkSourceRect.Height) * 0.5f,
        1.0f,               // scale
        SpriteEffects.None, // effects
        0.0f                // layerDepth
    );

    // Always end the sprite batch when finished.
    SpriteBatch.End();

    base.Draw(gameTime);
}
Now we're telling it to use the SpriteSortMode.FrontToBack sort mode, which will sort the draw calls so that those with a higher layerDepth will be drawn on top of those with a lower one. Even though we didn't change the order of the _spriteBatch.Draw calls, if you run the game now, you will see the following:
| Figure 5-17: The MonoGame icon drawn on top of the wordmark |
There are also two additional SpriteSortMode values that can be used. These, however, are situational and can have draw backs when using them, so understanding what they are for is important.
The first is SpriteSortMode.Texture. This works similar to SpriteSortMode.Deferred in that draw calls happen in the order they are made. However, before the draw calls are made, they are sorted by texture. This can be helpful when using multiple textures to reduce texture swapping, however it can have unintended results with layering if you're not careful.
The second is SpriteSortMode.Immediate. When using this sort mode, when a draw call is made, it is immediately flushed to the GPU and rendered to the screen, ignoring the layer depth, instead of batched and drawn when SpriteBatch.End is called. Using this can cause performance issues and should only be used when necessary. We'll discuss an example of using this in a later chapter when we discuss shaders, since with SpriteSortMode.Immediate you can adjust shader parameters for each individual draw call.
Conclusion
Let's review what you accomplished in this chapter:
- You learned about the different parameters of the SpriteBatch.Draw method and how they affect sprite rendering.
- You learned how the
rotationparameter works and how to convert between degrees and radians using MathHelper.ToRadians. - You learned how the
originparameter affects sprite positioning, rotation, and scaling. - You learned how to use the
scaleparameter to resize sprites uniformly or along individual axes. - You explored the SpriteEffects enum to flip sprites horizontally and vertically.
- You learned how the
colorparameter can be used to tint sprites and adjust their opacity. - You used the
sourceRectangleparameter to draw specific regions from a texture. - You explored sprite layering using the
layerDepthparameter and different SpriteSortMode options.
In the next chapter, we'll take what we've learned about working with textures and learn techniques to optimize rendering to reduce texture swapping.
Test Your Knowledge
What is the purpose of the
originparameter in SpriteBatch.Draw, and how does it affect position, rotation and scaling?The
originparameter determines the reference point for the sprite's position, rotation, and scaling. When set to Vector2.Zero, the sprite rotates and scales from its upper-left corner. When set to the center of the sprite, the sprite rotates and scales from its center. The origin point also affects where the sprite is positioned relative to thepositionparameter.How can you adjust a sprite's opacity using SpriteBatch.Draw?
A sprite's opacity can be adjusted by multiplying the
colorparameter by a value between0.0f(fully transparent) and1.0f(fully opaque). For example,Color.White * 0.5fwill render the sprite at 50% opacity.How can you flip a sprite horizontally and vertically at the same time using SpriteEffects?
To flip a sprite both horizontally and vertically, you can combine the SpriteEffects values using the bitwise OR operator (
|):SpriteEffects.FlipHorizontally | SpriteEffects.FlipVerticallyWhen using the
sourceRectangleparameter, what information do you need to specify, and what is its purpose?The
sourceRectangleparameter requires a Rectangle value where the x- and y-coordinates specify the upper-left corner of the region within the texture and the width and height, in pixels, of the region.Its purpose is to specify a specific region within a texture to draw, allowing multiple sprites to be drawn from different parts of the same texture.